Address
Electronic City, Phase 1
Bengaluru - 566 100
Work Hours
Monday to Friday: 9 AM - 6 PM
Schedule a Demo
Address
Electronic City, Phase 1
Bengaluru - 566 100
Work Hours
Monday to Friday: 9 AM - 6 PM
Schedule a Demo


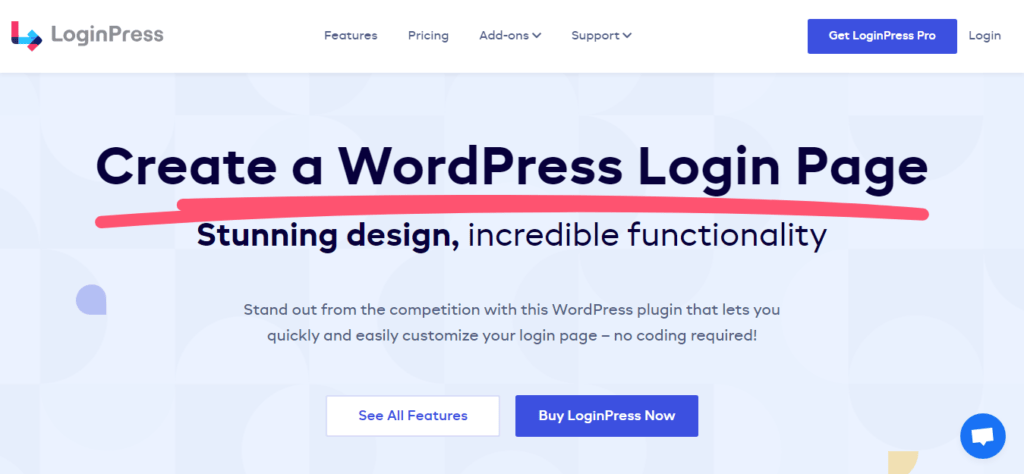
Revamp your WordPress login page with ease using this plugin for a stunning user experience.
Are you tired of the boring and generic login page on your WordPress site? Do you want to create a more professional and customized login experience for your users? Look no further than LoginPress! This simple WordPress plugin allows you to easily customize your login page, login form, registration page, and “forgot password” page with just a few clicks. With LoginPress, you can add your own logo, change the background, and even add custom CSS to create a unique and personalized login experience that reflects your brand. In this step-by-step guide, we will show you how to use LoginPress to customize your WordPress login page and create a more engaging user experience. Let’s get started!
Step 1 : Install LoginPress Plugin
The first thing you need to do is to install the LoginPress plugin. To do this, go to your WordPress dashboard, click on “Plugins” and then “Add New”. Search for “LoginPress” and click on “Install Now” button. Once installed, click on “Activate” to activate the plugin.
Step 2 : Open LoginPress Settings
After activating the plugin, click on “LoginPress” in the left-hand menu of your WordPress dashboard. This will open up the LoginPress settings page.
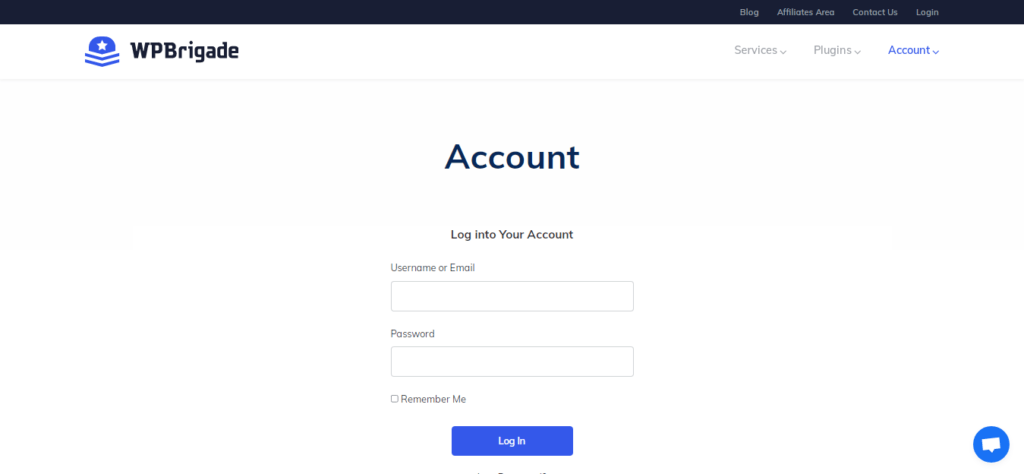
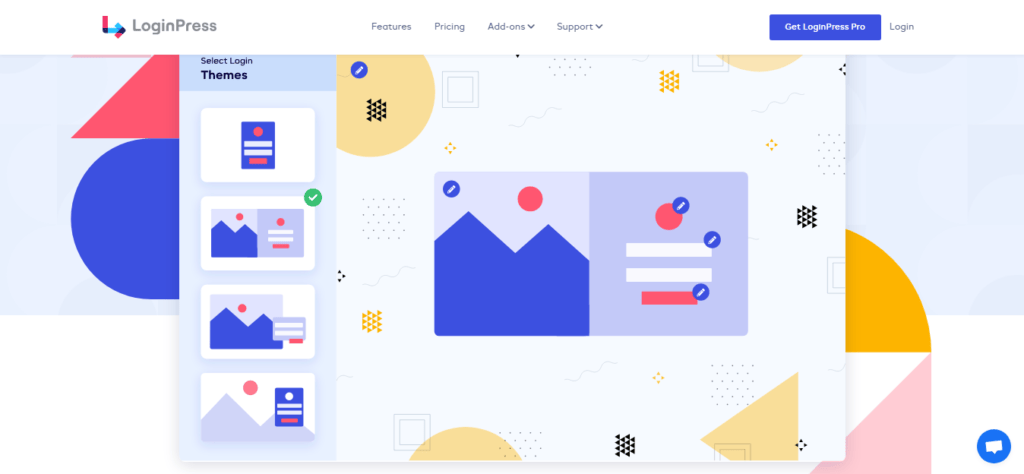
Step 3 : Customize Login Screen
On the LoginPress settings page, you can customize your login screen. You can change the background, logo, and text of the login screen. You can also add custom CSS to further customize the login screen.
Step 4 : Customize Login Form
Next, you can customize your login form. You can change the fields on the login form, as well as the labels and placeholders for each field. You can also add custom CSS to further customize the login form.
Step 5 : Customize Register Screen
If you want to customize the registration screen, click on the “Registration” tab on the LoginPress settings page. Here, you can customize the background, logo, and text of the registration screen. You can also add custom CSS to further customize the registration screen.

Step 6 : Customize Forget Password Screen
If you want to customize the “forgot password” screen, click on the “Forgot Password” tab on the LoginPress settings page. Here, you can customize the background, logo, and text of the “forgot password” screen. You can also add custom CSS to further customize the “forgot password” screen.
Step 7 : Save Changes
Once you have customized your login screen, login form, registration screen, and “forgot password” screen, click on the “Save Changes” button at the bottom of the LoginPress settings page.
To see the changes you have made, either preview or log out of your WordPress site and then try logging in again. You should see the new login screen and login form that you have customized using LoginPress.
That’s it! You have successfully customized your WordPress login page using LoginPress plugin. LoginPress is a simple and easy-to-use plugin that can help you create a professional-looking login page in just a few minutes.